X1 Social Discovery v.7.0 introduced the new dedicated Instagram Capture Scanner. With automated scrolling and comment expansion options, users can now collect from Instagram with ease!
How to use the Instagram Capture Scanner
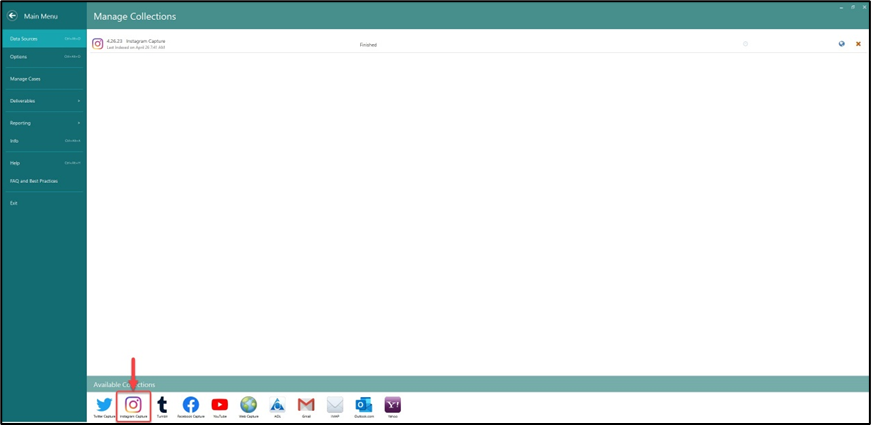
- To begin an Instagram Capture Collection, select the Instagram Capture scanner from the Available Collections on the Main Menu/Manage Collections screen.
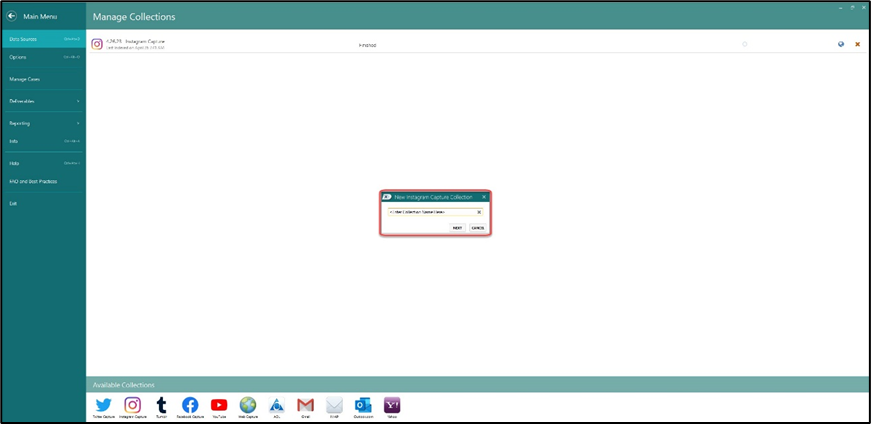
2. Enter a Collection Name for your Instagram Capture.
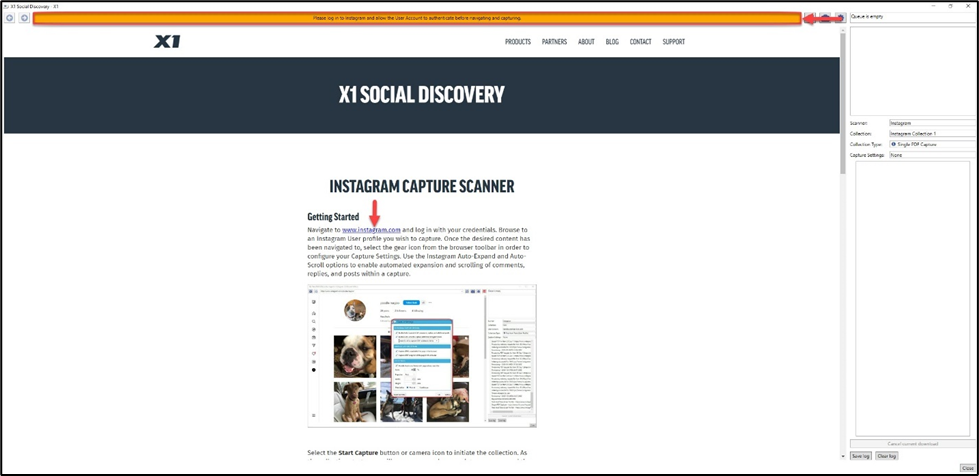
3. This will bring up the Instagram Capture Landing Page. The Landing Page provides a brief synopsis of using the Instagram Capture scanner, as well as some important Developer Notes. To login to Instagram, either click on the yellow banner on the top of the page, or the url hyperlink in the first paragraph to navigate to the Instagram Login page, where you can input your credentials.
4. Input your user credentials to navigate to the Instagram Home Page. Authenticating your Examiner account may take a moment, so please refrain from navigating away from this page, until the yellow login banner disappears and the User Account field has populated with the Examiner account details. Please note, the Instagram Home page is populated by a random assortment of posts, based off Instagram’s algorithm, and thus does not hold any forensic value, so is not currently supported for post-level parsing, as denoted by the “Single Page PDF” Collection Type.
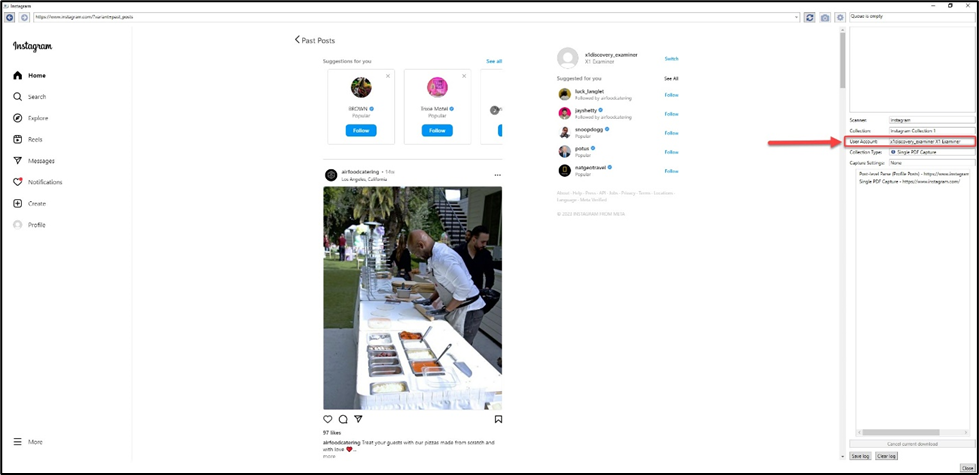
5. Collection through the Instagram Capture Scanner is performed from User Profile pages. Navigate to the User Profile you wish to collect to get started.
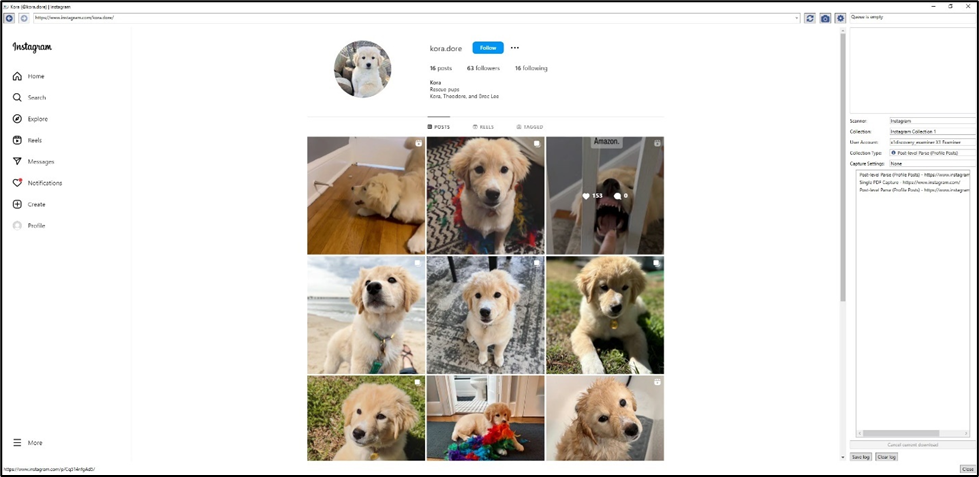
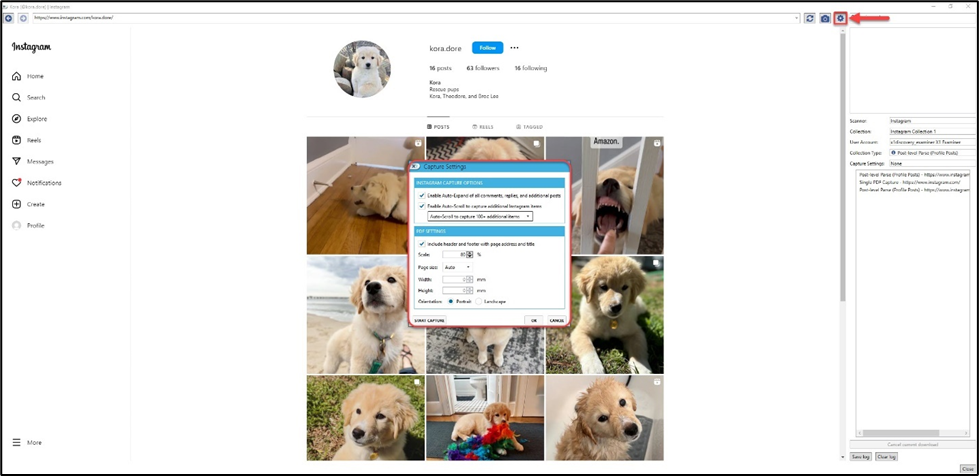
6. The Instagram Capture Scanner supports collections from either the User Profile “Posts” tab, the “Tagged” tab, or the individual Post Theater pages. In order to capture all the posts from either the Posts tab, or the Tagged tab, open the Capture Settings options via the gear icon in the top right-hand corner. Capture settings can be configured for both automated scrolling (including carousel posts) and automated comment/reply expansion.
7. Once the collection starts, the auto-scroll and auto-expand settings will open each post in the Post Theater view and expand all the available comments. Active collections will display the capture progress bar, and details of the capture will be viewable in the Capture Log in the bottom right-hand corner of the browser window.
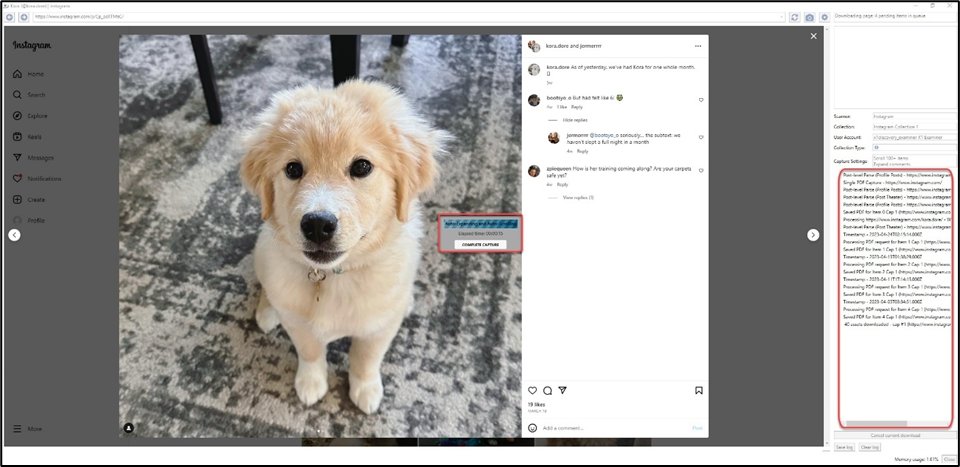
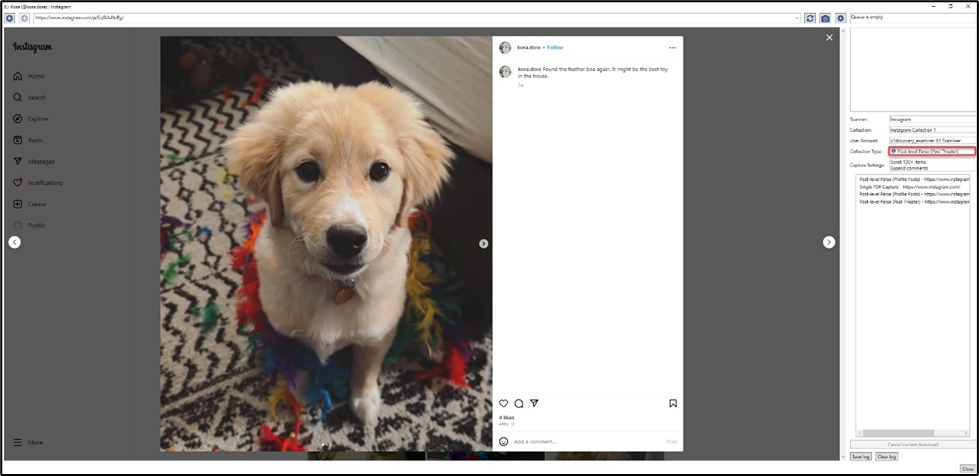
8. For individual Post capture, select the desired post from the Profile Page view. This will open the post in Instagram’s Post Theater view. With the Auto-Expand setting enabled, all comments and replies will be expanded and captured (Note: Regardless of chosen Capture Settings, each slide of a Carousel-style post will be captured). From the Post Theater view, disabling the Auto-Scroll setting will capture just the currently visible post. Enabling Auto-Scroll will start an automated collection of every post following the currently visible post.
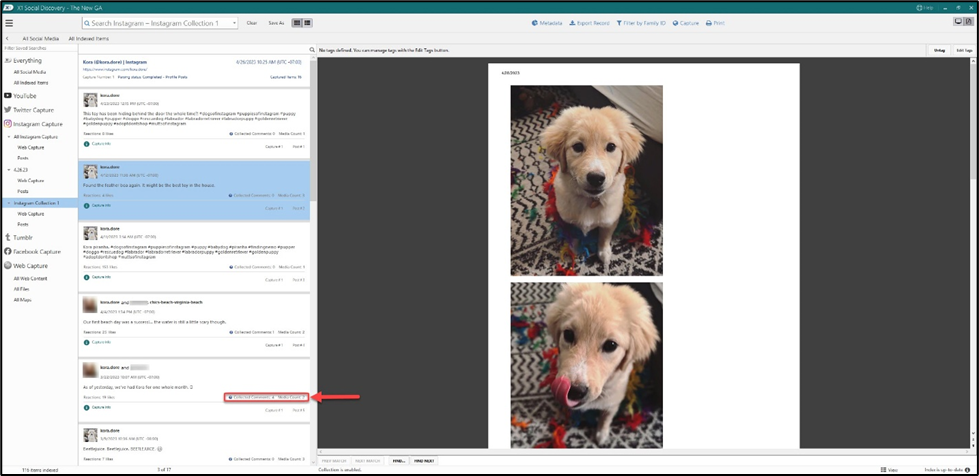
9. As the capture progresses, results will start to show on the Social Discovery results page. If capturing a full profile, results will contain both a Web Capture of the Account header information, as well as individual posts returned for each post captured.
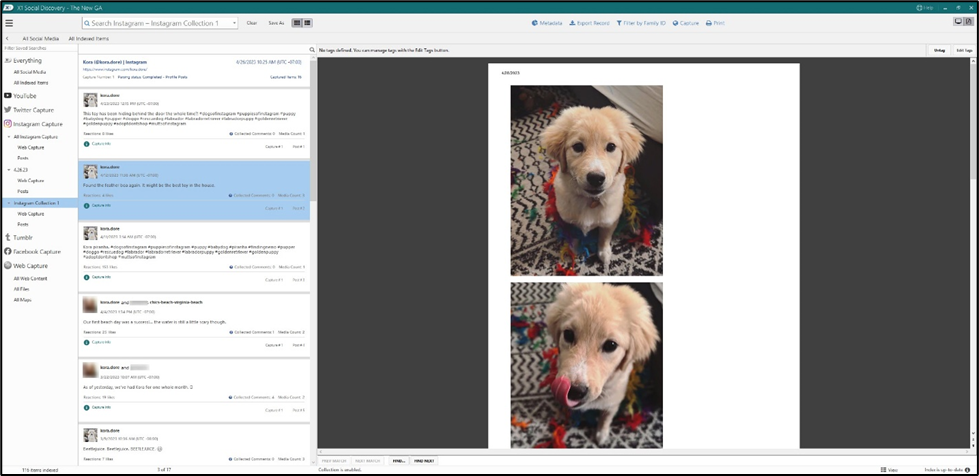
10. The results tiles will display details of the captured post(s). The Collected Comments field refers to the number of comments collected for a post and is based off an actual count of the comments in the capture results. Sometimes this number can be either less, or often more, than the number of comments Instagram reported for a post. The Media Count field is the count of the number of slides collected from Carousel posts.
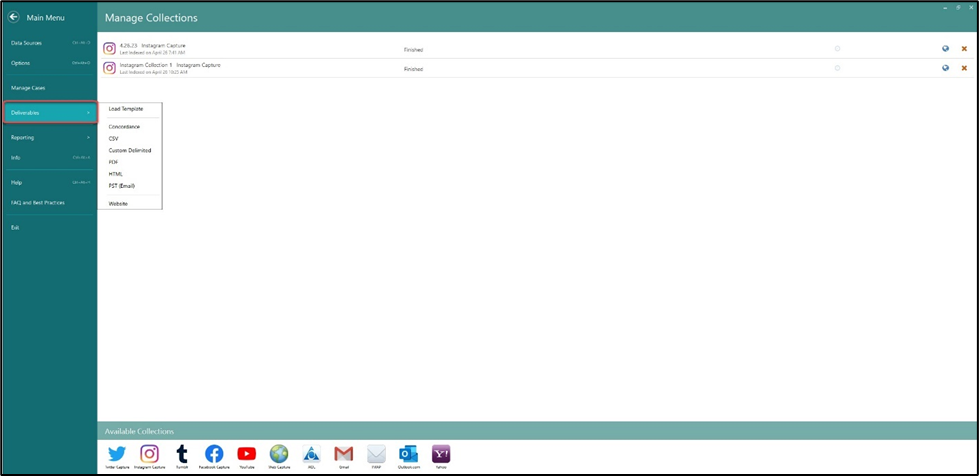
11. To export your collection, navigate to the Main Menu/Manage Collections screen, and select the Deliverables tab. This will present a menu of the deliverable options. Whatever is currently displayed in the results pane is what will be exported.