By default, X1 Search places index files in the X1 Data Directory in the following locations depending on your Operating System:
Please note: Currently we support storing the X1 Search index on the local drive.
Windows 10, 7, and Vista: C:\Users\username\AppData\Local\X1Search
If you want to change the location of your Index File, please do the following:
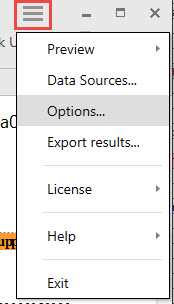
1. Select Menu>Options
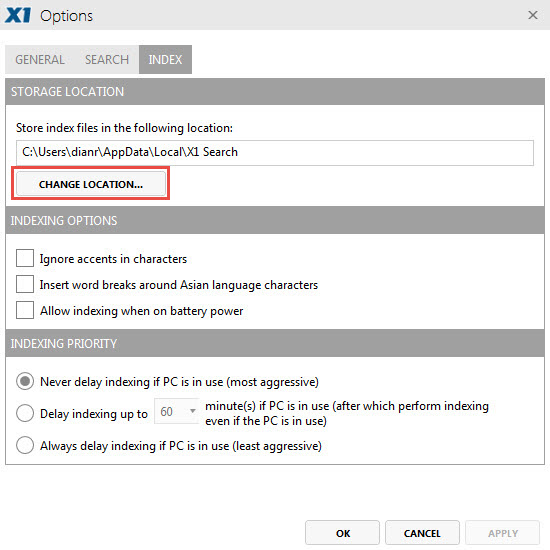
2. Select the 'Index' tab and then 'Change Location':
3. With the folder structure, select a new location to store your X1 Search index, or click ‘Make New Folder’ to indicate a new location.
Use this dialog box to navigate to the new folder location for your X1 Search program and click the [OK] button.
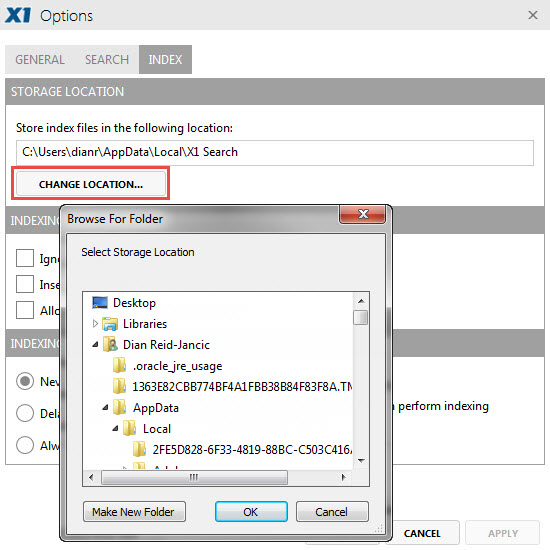
If you want to create a new folder for the program, first navigate to the Parent Folder for the new folder you want to create; then select the [Make New Folder] button and create a new name for the folder when prompted by Windows.
5. Once you select a new location for your X1 Search Directory, click ‘Ok’, displaying a popup window:
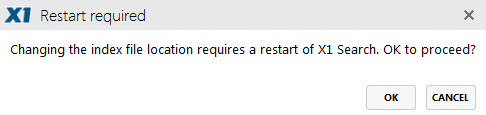
6. Choose [OK] to commit these changes and re-start X1 Search. Click [Cancel] to abort the changes.
Please note: As with any application, you should avoid storing the X1 Search Directory on your desktop.